
Winter is a wonderful time of year. Nothing comes close to seeing the first strings of Christmas lights hanging outside frosted homes and around whitened trees. And nothing is cozier than popping on your favorite sweater and plopping in front of your fireplace with a warm cup of cocoa.
There is one heartbreaking thing that comes to an end when that first frost hits though – the end of the tomato growing season.
However, we can’t let the end-of-season blues get us down – our tomato plants still require some care.
Whether your tomato plants are completely spent or have a few slow ripeners, you’ll know what to do at the end of the season with this easy guide.
When Is The End Of The Tomato Season?
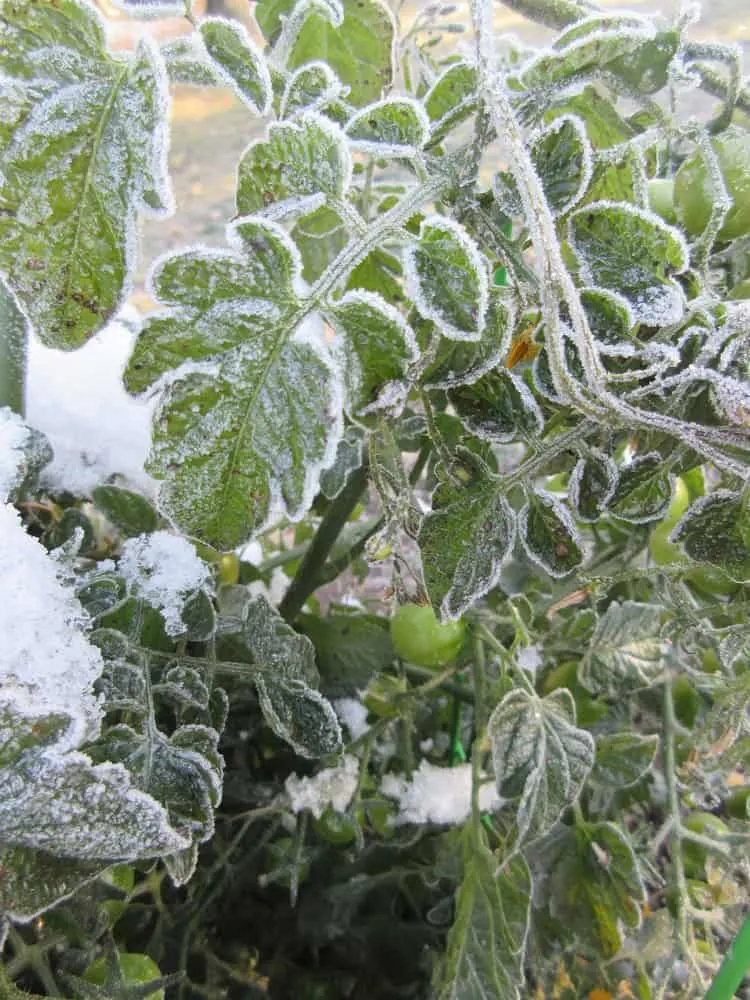
Fall is here and winter is coming. Albeit a little slowly. You’re probably wondering why you have to worry about your tomatoes so soon. But as soon as the first cold snaps start hitting, there are a few things in your tomato garden that need taking care of.
When the temperatures slowly begin to dip, your tomato plants start succumbing to the winter blues. They’ll stop producing fruit and start dropping their leaves. Your plants will die if outdoors once the temperatures consistently hit below the tomato temperature threshold of around 33⁰F.
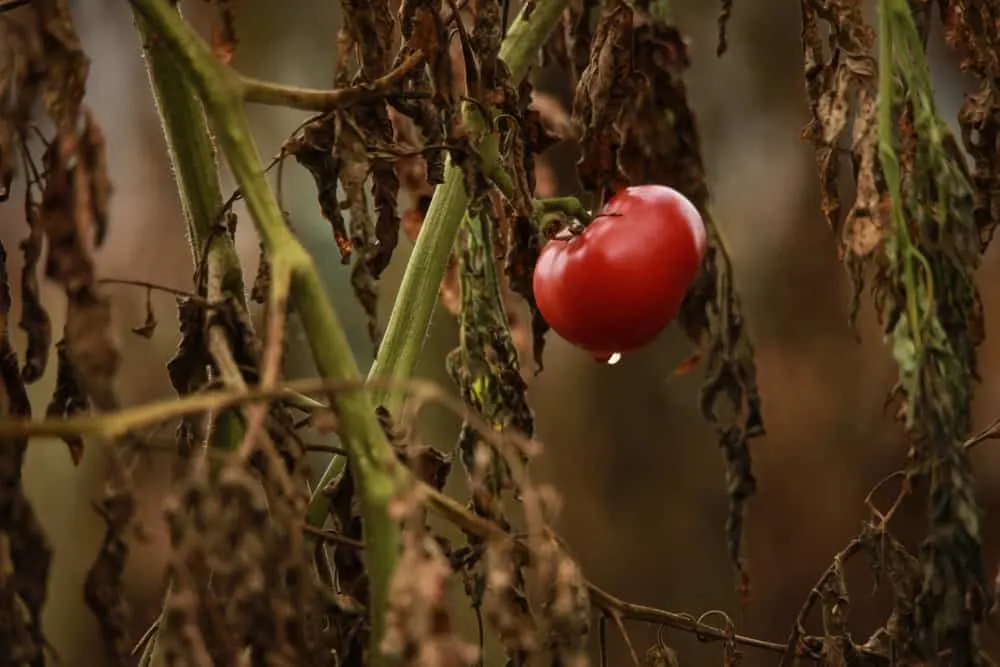
Plants in hotter areas with warm winters could survive and produce yummy tomatoes again, come growing season. But finding the right climate is tricky, as the temperatures should remain above 50⁰F permanently to avoid any damage and ensure a good harvest (or any harvest at all) the following year.
That’s why it’s best to pull your tomato plants completely before or just as the first frost hits.
What To Do With Your Remaining Tomatoes
1. Harvest Early
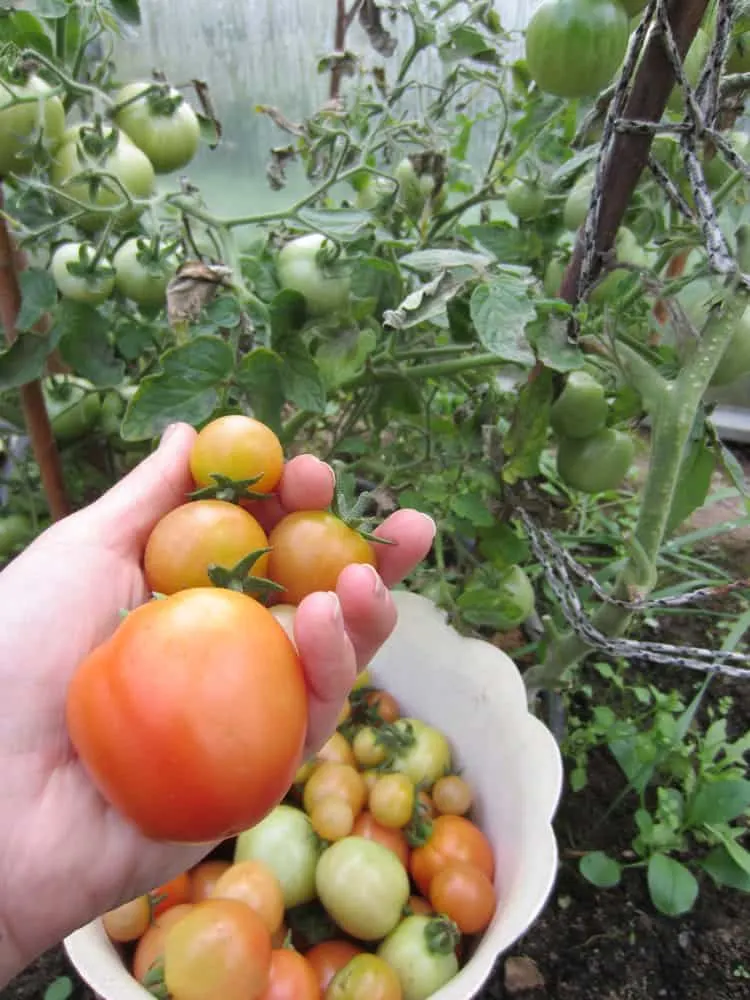
Before pulling entire plants, we’ve got to get the remaining tomatoes ripe and ready for harvest.
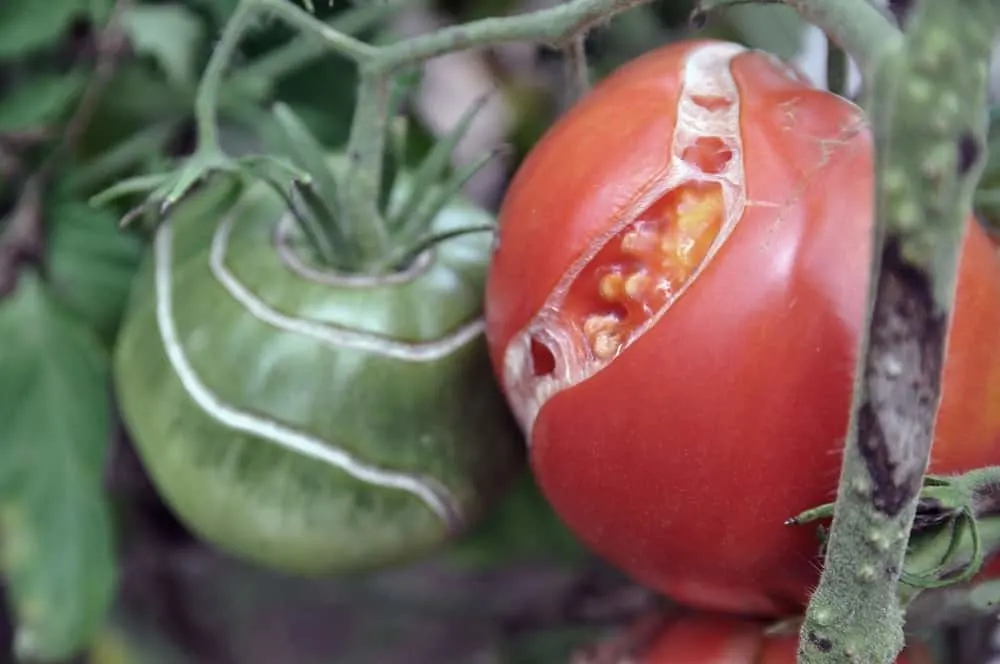
There are a few ways to speed up the ripening process of your tomatoes. You’ll want to reduce watering and keep your plant relatively dry. This encourages the plant to ripen the fruits quicker and reproduce. If there are heavy rains coming, watch the underwatering as dry periods followed by excessive water can cause your remaining tomatoes to crack.
Next, you’ll need to prune, prune, prune. Prune away older dead leaves, pick new flowers (they won’t blossom before the first frost anyway), and harvest any ripened and unusable fruit. This helps redirect all your plant’s energy to the remaining fruit, helping them ripen faster.
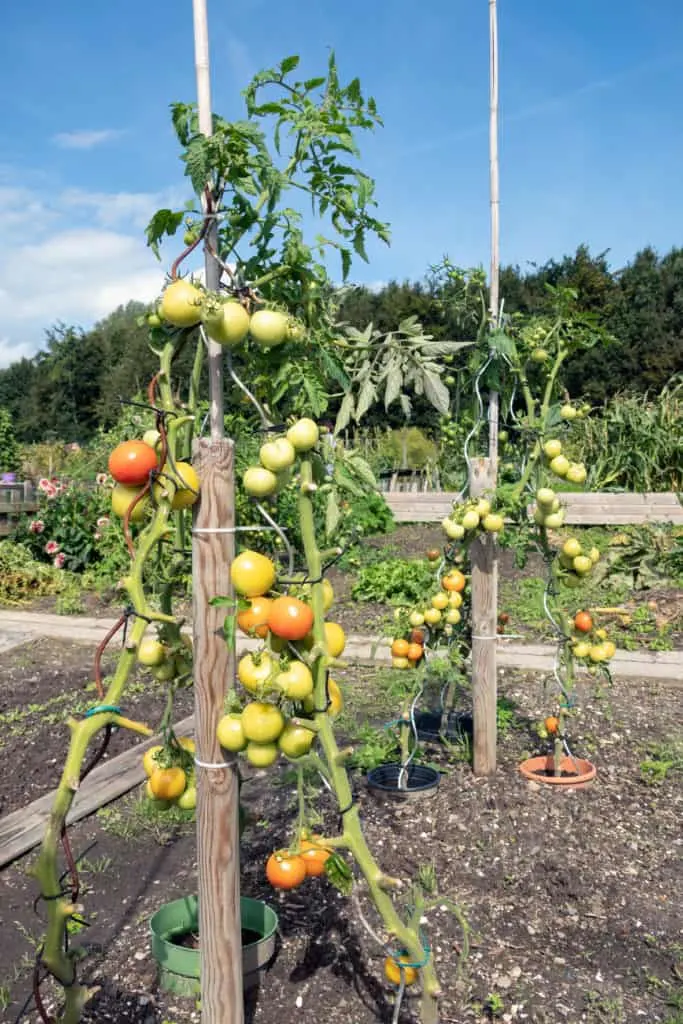
Or, you could opt to harvest all your tomatoes, including unripened ones, and ripen them off the vine.
Many argue that the tomatoes aren’t as sweet when ripened off the vine. But once tomatoes reach the breaker stage (as they change color from green to pink), their flavor is locked in. Ripening off the vine also gives you a lot more control over the ripening process.
Simply place your harvested tomatoes in a bowl in indirect sunlight in your kitchen if you’re not desperately needing them. For those looking for faster results, place your green tomatoes in a paper bag, with a ripening apple or banana. These fruits emit more ethylene gas than the tomatoes themselves, speeding up the ripening process.
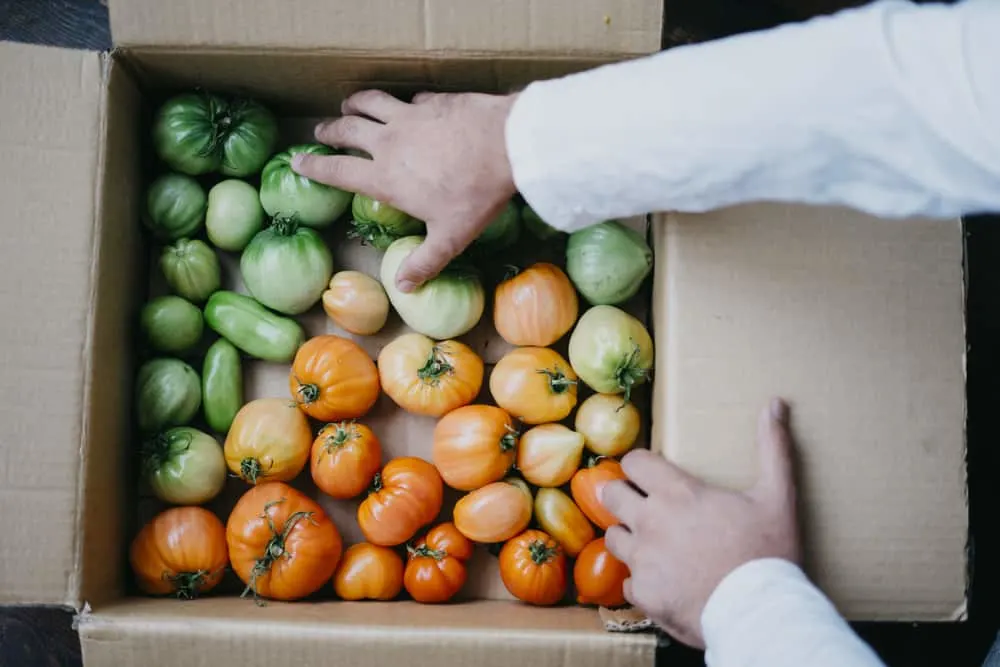
If you’re in no rush, individually wrap your unripe tomatoes in newspaper and place them in a cardboard box. Store your boxed tomatoes in a dry, dark spot. You’ll have fresh, ripe tomatoes in three to four weeks.
Another option is to bring the entire plant, along with all its green tomatoes, inside. If you have a basement or garage, that stays dry and warm (above 60F), you can hang your plant upside down. You’ll be able to pick the ripening tomatoes throughout fall.
2. Use Your Green Tomatoes
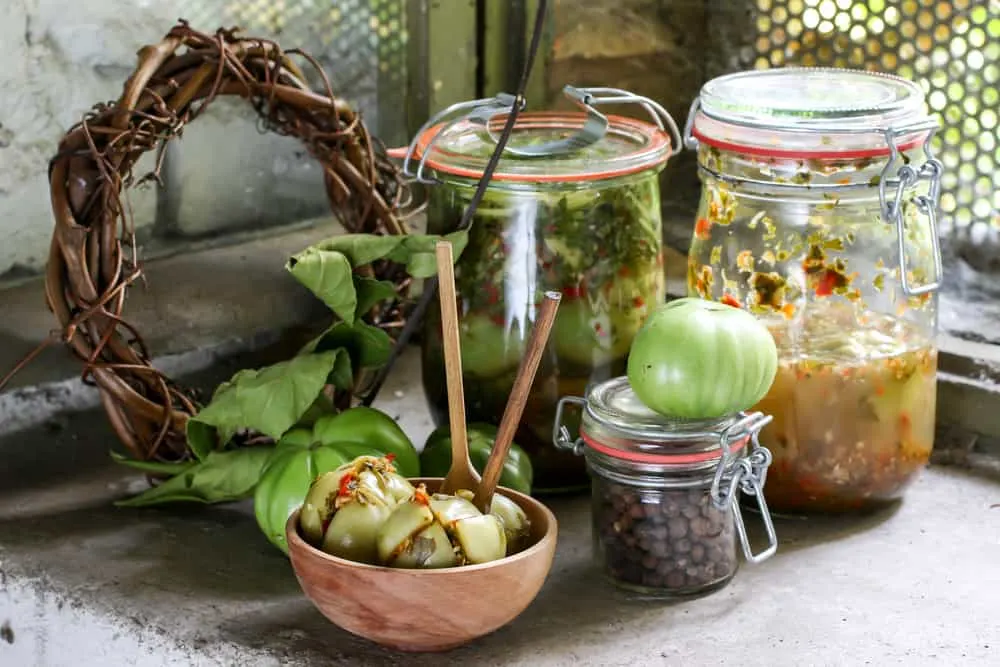
Some tomatoes may refuse to ripen, depending on how far they were in the process before they were picked. But, you don’t need to throw out those green tomatoes. They’re still useful even when they’re not that desired bright, juicy red.
Green tomatoes are completely edible and there are several to-die-for recipes that require them. This page has a collection of 21 brilliant green tomato recipes.
Try a creamy green tomato soup that’ll warm you up on exceptionally cold nights, or fried green tomatoes – the perfect appetizer.

You could even make a delicious green tomato relish or (my personal favorite) tangy green tomato burger sauce.
3. Harvest and Store Tomato Seeds
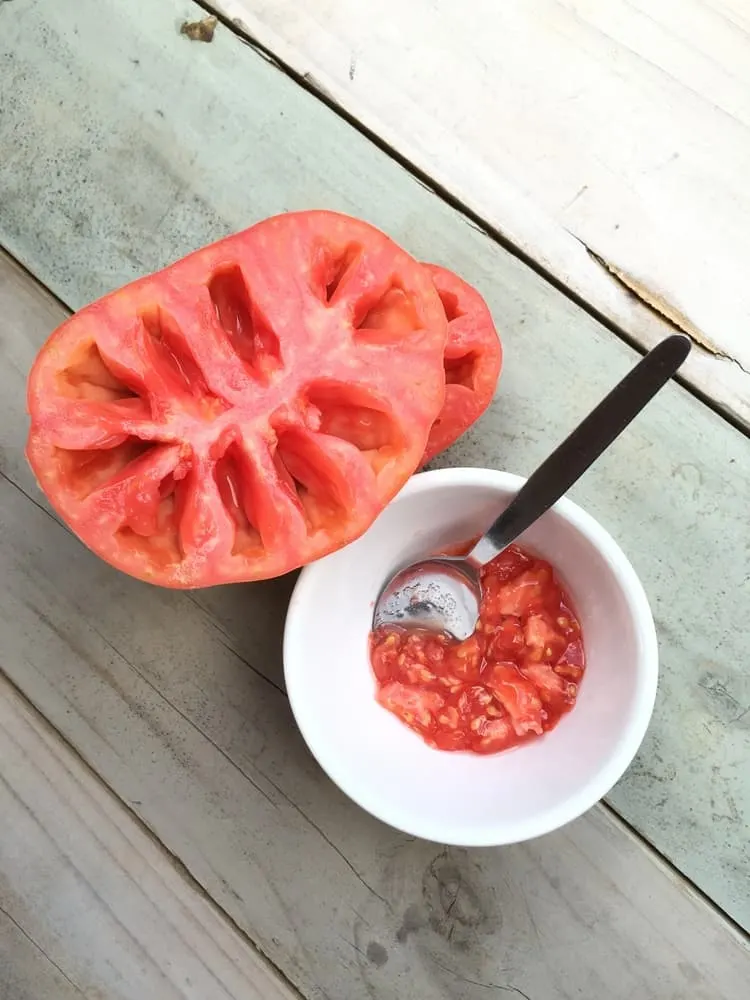
Replanting tomato seeds is a sure-fire way to get another healthy, bountiful harvest next season.
Harvesting seeds from tomatoes does take a little work, but it’s a simple process and a fun experiment.
First, you’ll need to harvest the seeds from ripened tomatoes (they need to be fully mature).
Simply slice the tomato in half, exposing the seed cavities. Next, scoop out all the seeds into a jar. Don’t worry if you get some flesh in there.
The second step is fermenting the seeds.
Add about a cup of water to your jar, so your seeds are floating. Cover and pop that jar in a warm spot in your kitchen for a few days. The fermentation process is finished when the pulp is covered in mold and your seeds have settled at the bottom of the jar.
Next, remove that mold layer and separate your seeds. Rinse them thoroughly, removing all bits of pulp and mold. Once your seeds are clean, set them out to dry.
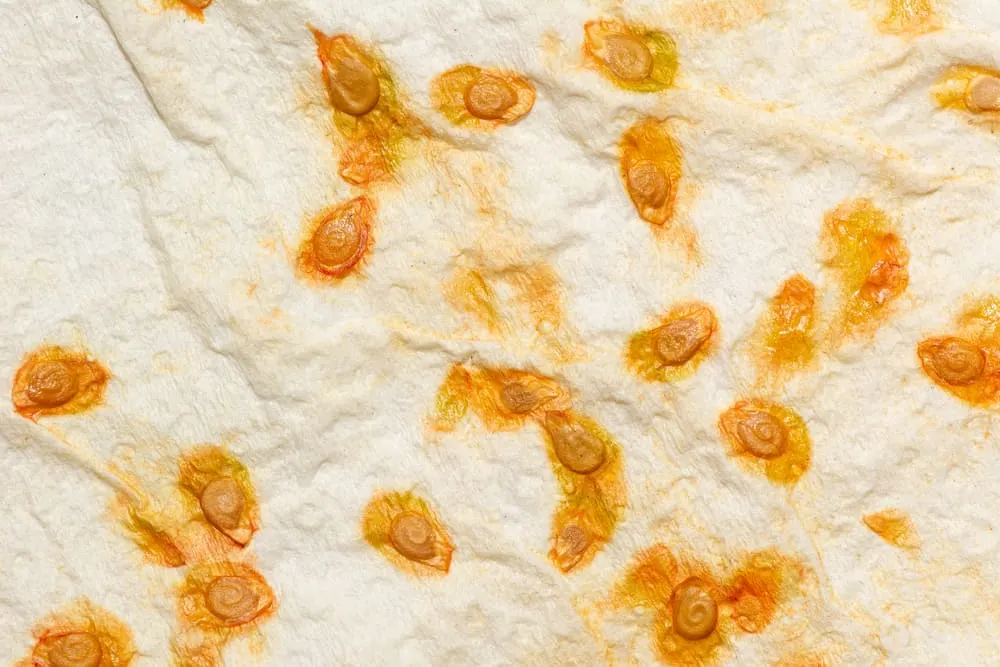
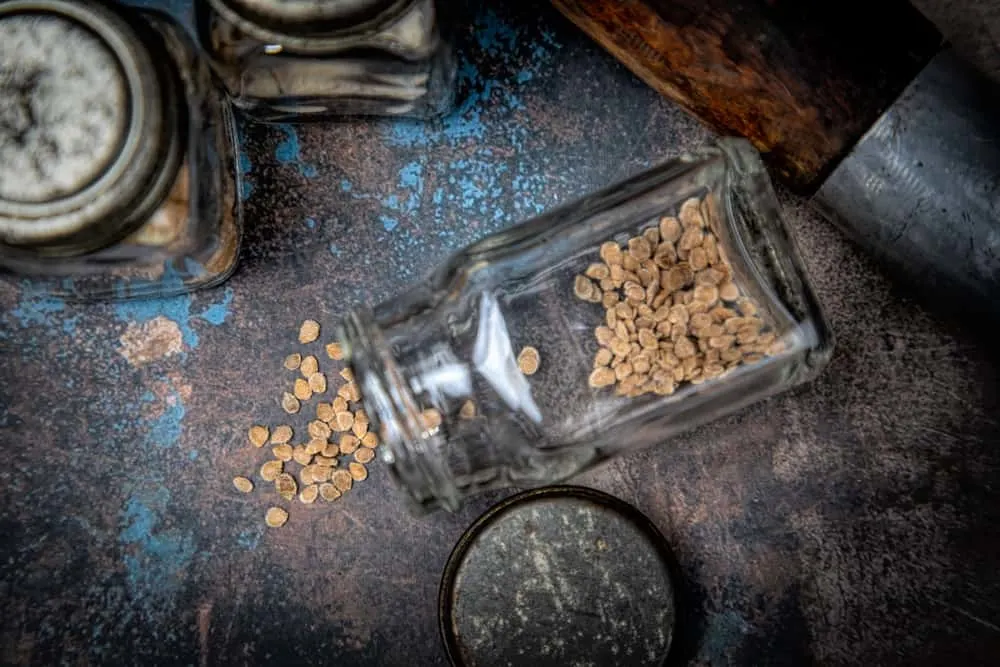
Lastly, once they’re dry, you can place your seeds in an airtight container, ready for next season.
Removing Tomato Plants From The Garden
The tomato growing season is over, you’ve harvested all the tomatoes you can for this year, now it’s time to shut down at the end of the season.
Here’s what you need to do.
1. Keep A Garden Log

Once you know what to do with the remaining tomatoes, it’s time to prep your garden for winter.
One of the most important things to do is keep a detailed record or log. Jot down this year’s garden layout, detailing where your tomatoes were planted. This helps with crop rotations and stops you from planting the wrong plant in place of your tomatoes (such as other members of the Solanaceae family). Crop rotation helps prevent diseases and improves your soil.
Remember to note what worked well this season and what needs to change, such as soil amendments and watering habits.
2. Remove Supports
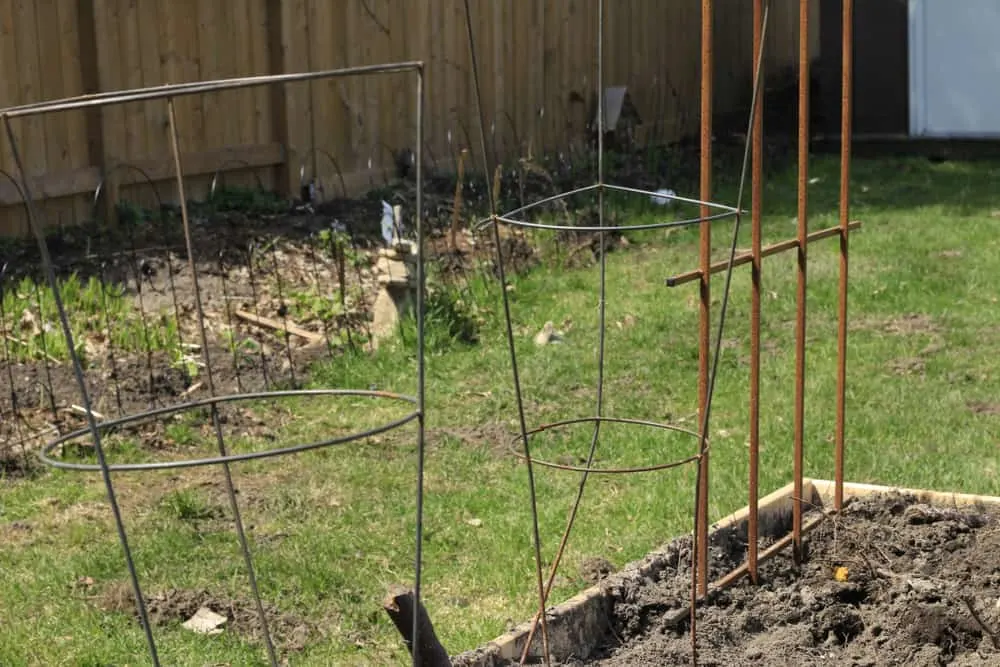
Whether you grew determinate or indeterminate tomatoes, chances are they had some help staying up straight.
The next step is to remove and store all supports over the winter, including stakes, trellises, and cages.
Clean them thoroughly, getting rid of all soil and possible lingering diseases. You can even disinfect them for good measure using a bleach solution.
Store your supports in a cool dry place to protect them and haul them out next season.
3. Pull Out The Plants
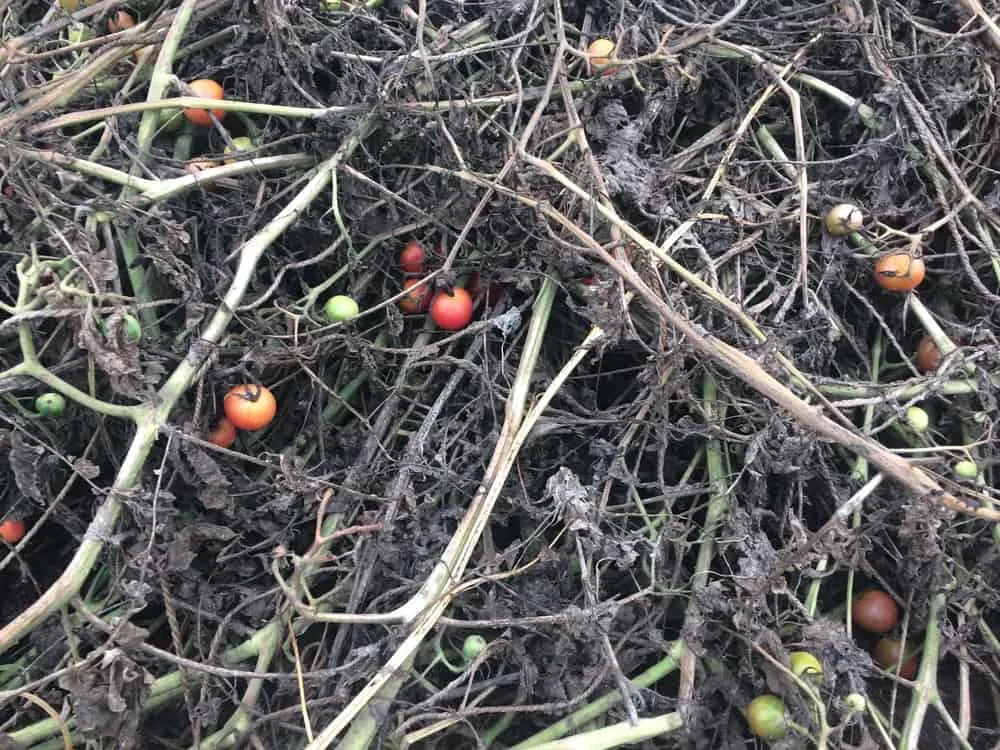
Now it’s finally time to pull that spent tomato plant, roots and all.
Make sure to clean all the plant debris out of your tomato patch. Keep an eye out for weeds and hidden dropped leaves and fruits. Till your beds to ensure all plant debris has been effectively removed.
You can either compost or burn your spent tomato plants and debris.
Composting tomatoes is a hotly debated topic in the home gardening world. But, if your tomato plant has any sign of pests or disease, it’s best to burn it.
4. Clean Garden Tools
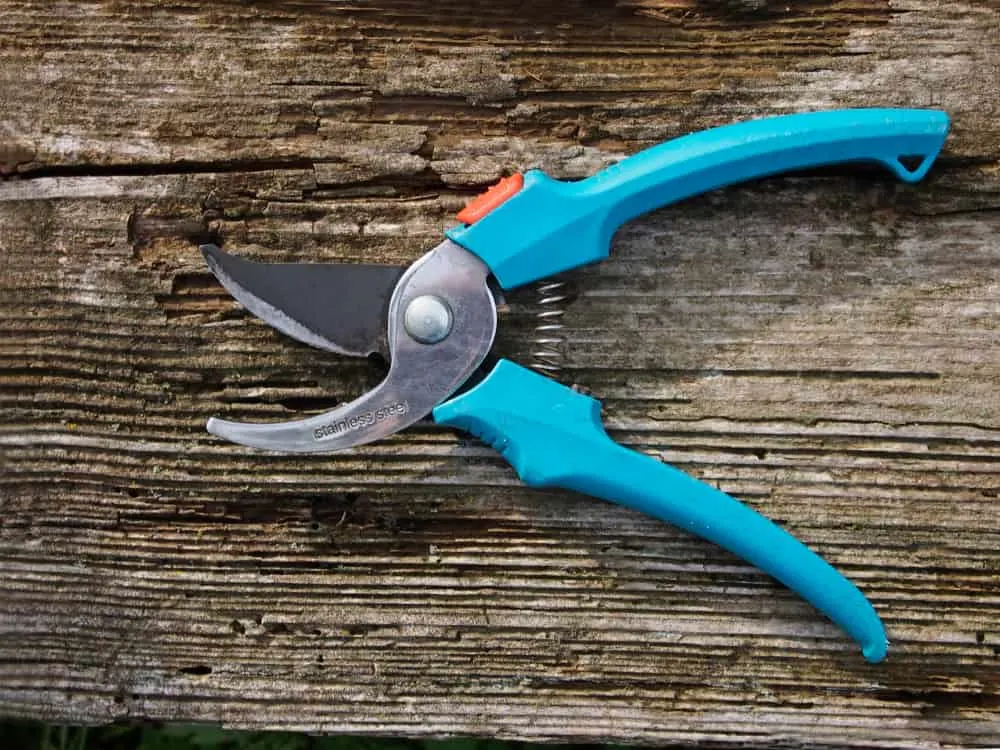
Now that you’ve harvested your remaining tomatoes, cleaned out your garden, and discarded all remaining debris, it’s time to clean those tools.
Maintaining clean garden tools is a habit everyone should pick up. This prevents the spread of diseases and cross-contamination while prolonging the life of your tools.
Scrub all the tools you used, including wheelbarrows, spades, and secateurs. Disinfect them with a diluted bleach solution and set them out to dry. To prevent rust, oil your metal tools and store them in a cool dry place for winter.
Before we can cuddle up in front of the fire this fall, we need to be prepared for the end of tomato season.
Your garden will be prepped and ready for those cold-hardy veggies, or ready and waiting for the next tomato season.
And while you’re waiting, you can enjoy your last harvest of tomatoes.
